API Authentication
API authentication in Autopilot is handled via API keys. These are managed exclusively through the dashboard and cannot be modified or created via API requests. It’s recommended that keys have expiration dates and are refreshed periodically to minimize risk.
Authentication
Section titled “Authentication”All API requests require a valid API key in the X-Api-Key header and must be sent over HTTPS. Any request made over HTTP or without authentication will be rejected.
$ curl https://api.autopilot.is/v1/payout/transactions \ -H "X-Api-Key: sk_test_qmdUP...9tznPwjdo"Signing Request Headers
Section titled “Signing Request Headers”If you opt-in to request signing for an API key, two more headers are required on every non GET-method request:
X-Signature-Ed25519: a hex-encoded Ed25519 signatureX-Signature-Timestamp: a UNIX timestamp (in seconds)
These ensure payload integrity and timing validity. Signing is only recommended for requests passing through untrusted sources.
For more information, see the Signing Requests section.
$ curl https://api.autopilot.is/v1/payout/transactions \ -H "X-Api-Key: sk_test_qmdUP...9tznPwjdo" -H "X-Signature-Ed25519: b1affea8...31f328a1" -H "X-Signature-Timestamp: 1735689600"Live and Test Mode
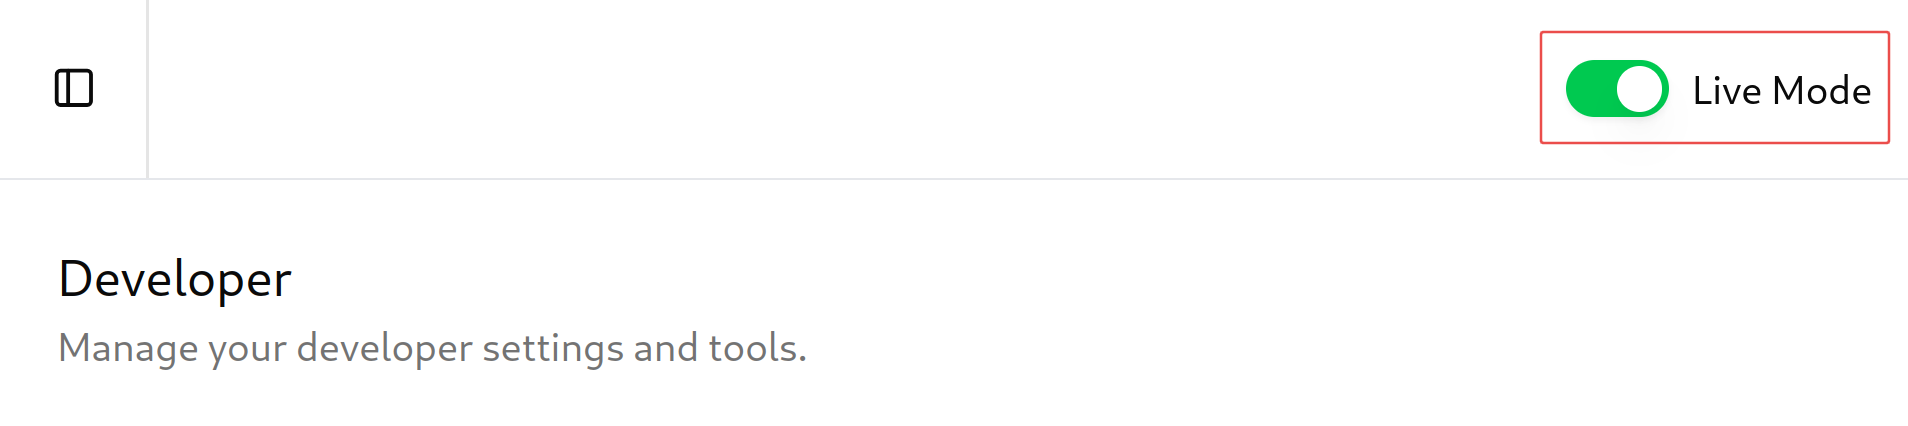
Section titled “Live and Test Mode”All keys are prefixed to indicate mode:
*_test_: Test mode – interacts with staging/test systems, never real money.*_live_: Live mode – real transactions and data.
APIs function identically across test and live modes.
| Mode | Use Case | Data | Input | Notes |
|---|---|---|---|---|
| Test | Use test mode as you build your integration with Autopilot. In test mode, providers don’t process payments | API calls return simulated or mocked data. Account numbers, charges, payments and payouts are simulated to those seen in live mode. | When passing data, limited validation will occur. Do not pass real payment method data or real account data. | Implementation when testing payments and payouts may slightly differ based on the payment provider. See provider details for full information |
| Live | Once your integration is tested and working in test mode, launch your integration with Autopilot with live mode to accept and send real money. | All API calls send and return real objects as returned by payment and payout providers. | Accept real payment method data and operate on customer accounts. Transactions, charges and authorizations will be processed. | Full payment and payout provider processes will be followed. Refer to our provider details for full information. |
API Keys
Section titled “API Keys”Key types
Section titled “Key types”There are two types of API keys:
- Secret keys (
sk_test_,sk_live_): Full-access keys for backend services. Never share these. Never commit them to public repositories or use in client-side code. - Publishable keys (
pk_test_,pk_live_): Used for client-side only operations. These have restricted permissions.
Create an API key
Section titled “Create an API key”When creating an API key, ensure you have a secure place to save it. Next, verify you are in the correct mode (test or live) then complete the following:
-
Go to API Keys Dashboard
-
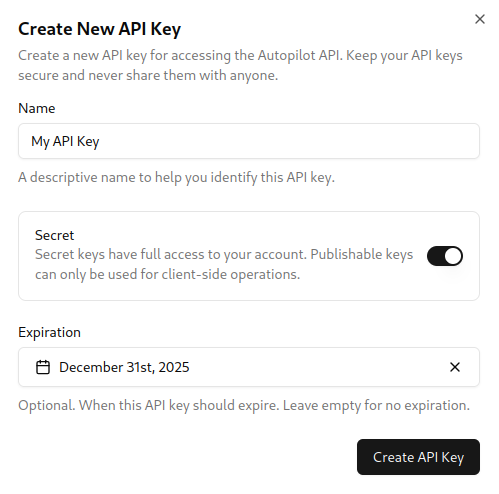
Click Create API Key
-
Provide a name to help identify this key later
-
Choose between Secret or Publishable
-
Optionally select an expiration date
-
Optionally add a public key for signed requests (see signing section)
-
Click Create API Key
-
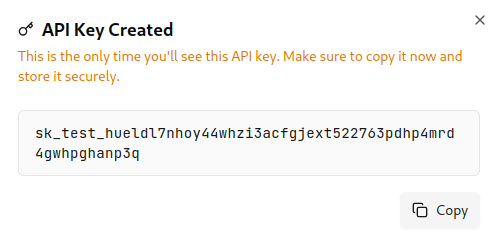
Copy the key from the confirmation dialog – it won’t be shown again
-
Store the key securely
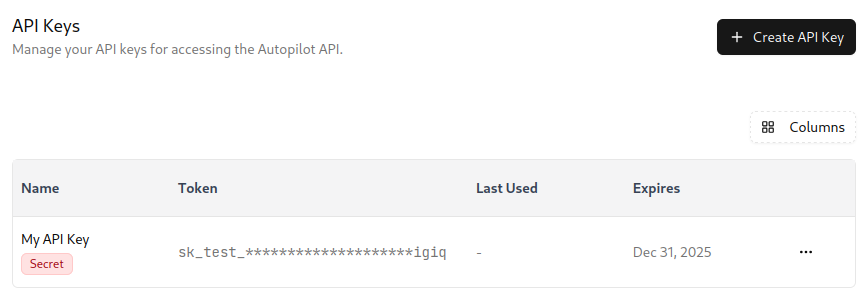
Once you have successfully created an API key endpoint, you should see it listed on your dashboard.
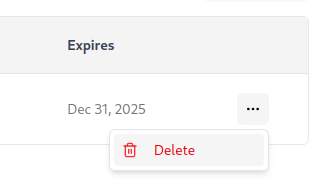
Delete/Revoke an API key
Section titled “Delete/Revoke an API key”-
Go to API Keys Dashboard
-
Locate the key to revoke
-
Click the 3-dot menu on the right
-
Click Delete
Keep your keys safe
Section titled “Keep your keys safe”Ensure your API keys (and all other secrets) are never comitted to source control. Instead, use some secret management tool or environment variables to inject keys to your application. Make sure to rotate API keys regularly and monitor usage logs to prevent unauthorized access.
Signing Requests
Section titled “Signing Requests”When your request is routed through third-party services or potentially insecure channels, you can sign the request payload body to prevent unauthorized sources from deploying replay attacks or modifying the payload before it reaches our server.
When to Sign Requests
Section titled “When to Sign Requests”Request signing only occurs when completing a non GET-request. All other request methods require signing when enabled at the time of API key creation.
Generating an Ed25519 key pair
Section titled “Generating an Ed25519 key pair”Ensure you are generating your Ed25519 key pair using a secure cryptographic method, such as with your favorite cryptography library. Here are some examples in common languages. Note that Autopilot cannot not guarantee the safety and reliability of these packages:
- Go: crypto/ed25519
- JavaScript: @noble/ed25519
- JavaScript: tweetnacl
- Python: PyNaCl
- Java: BouncyCastle
Make sure to keep your private key safe and never transmit it over the internet or share it with anyone, including Autopilot.
Implementation
Section titled “Implementation”When your request is routed through third-party services or potentially insecure channels, you can sign the request payload body to prevent unauthorized sources from deploying replay attacks or modifying the payload before it reaches our server.
Timestamp:
Every signed request requires a X-Signature-Timestamp header, which should represent the current UNIX timestamp (in seconds). Ensure your timestamps are accurate (such as with ntp), as Autopilot will reject any request if the timestamp differs by more than 5 minutes from its server time. This protects against replay attacks.
Creating the Signature:
The signature (X-Signature-Ed25519) must be generated using Ed25519. Specifically, the signature payload is created by concatenating the timestamp with the raw request body:
signature_payload = timestamp + raw_request_bodysignature = ed25519.sign(private_key, signature_payload)Then, encode the signature as a hexadecimal string to include it in your request:
X-Signature-Ed25519: hex(signature)Key Management
Section titled “Key Management”Ed25519 keys, once created, are immutable. If your key is compromised or you wish to rotate your keys regularly (recommended), you’ll need to revoke the old API key and create a new one through the Autopilot dashboard. Always keep your private keys secure and confidential. Never share them or transmit them over unsecured channels.